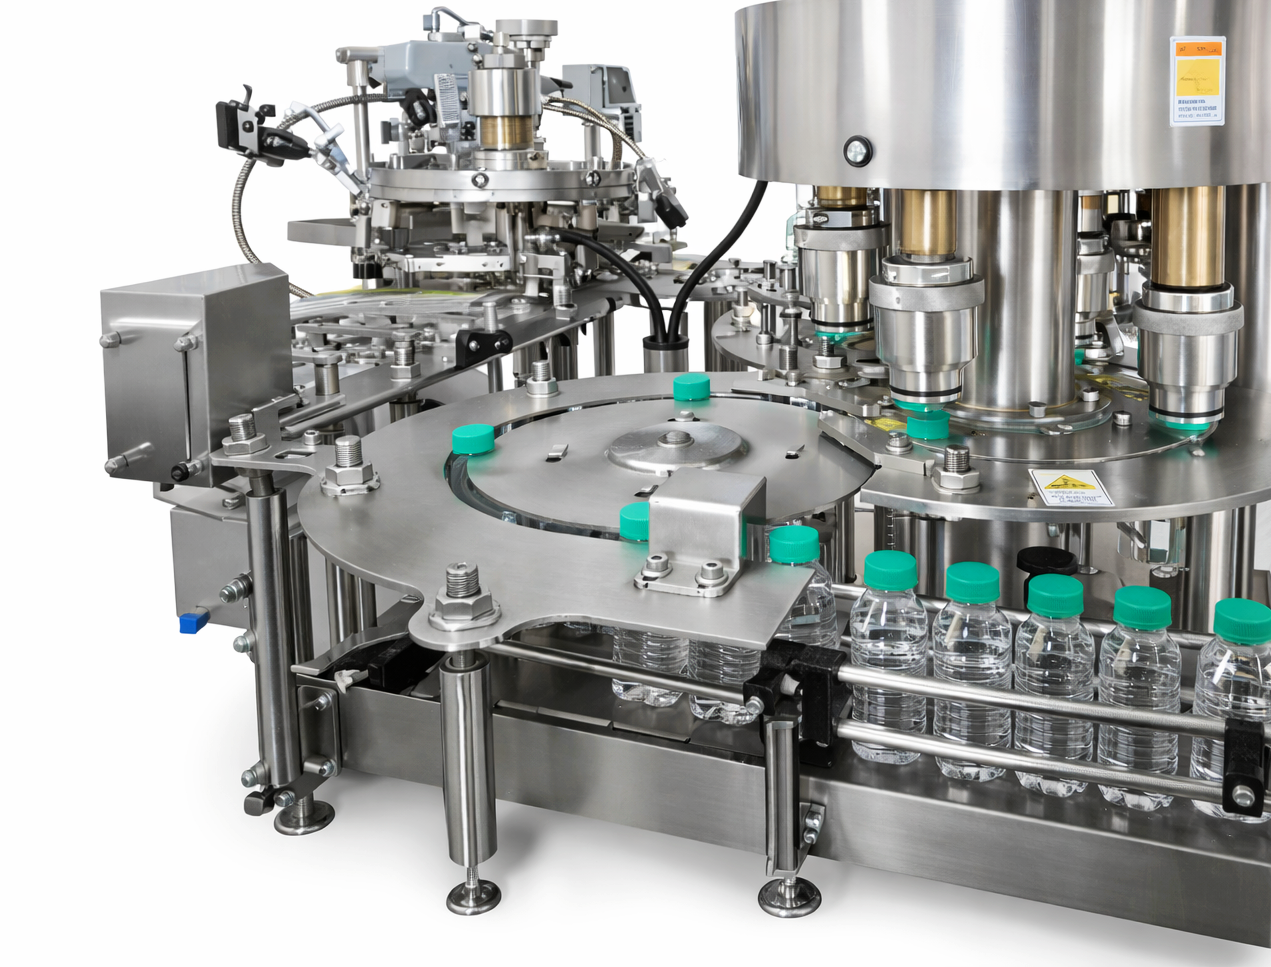
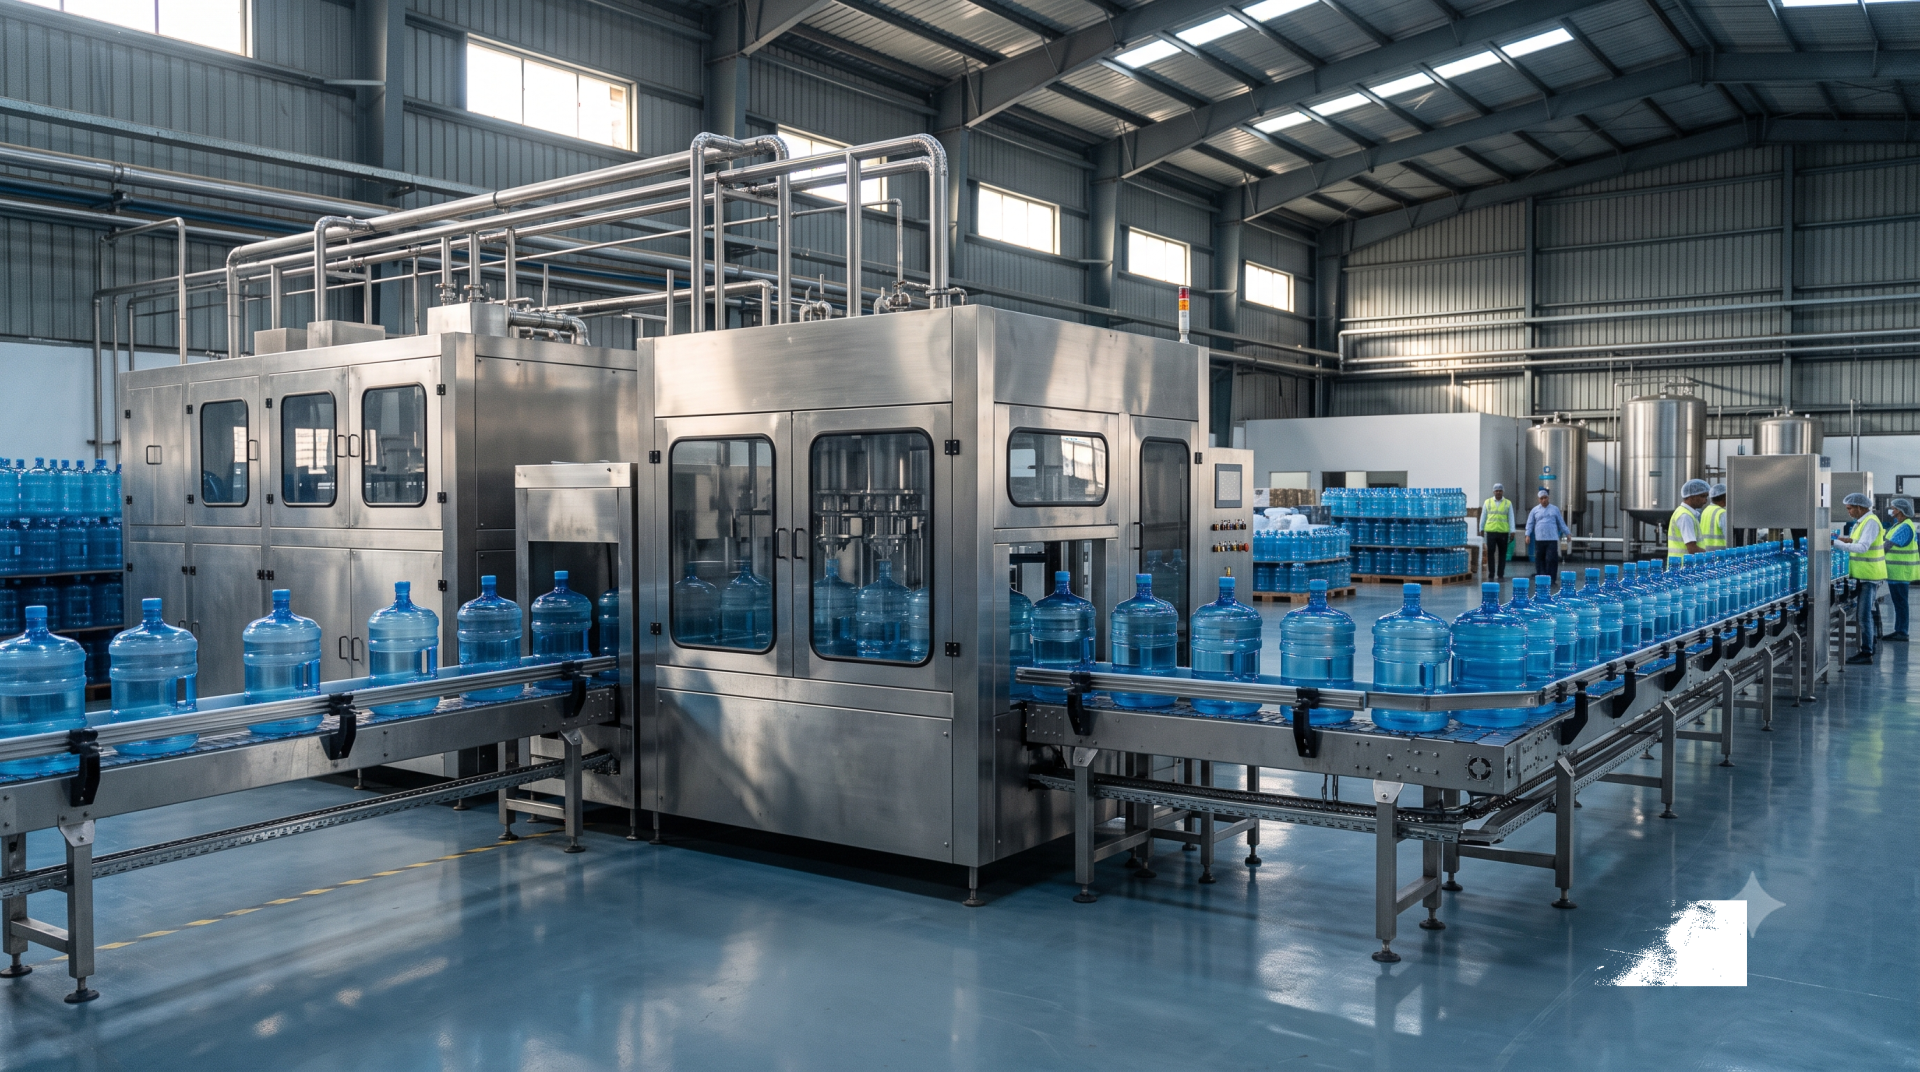
An Automatic RFC Water Bottle Filling Machine is a 3-in-1 system that rinses empty bottles, fills them with treated water, and caps them—continuously and hygienically. If you’re running a packaged drinking water plant in India, the biggest production issues usually come from poor installation alignment, inconsistent utilities (air/water/power), and weak daily cleaning routines. This guide explains exactly how to set up, run, and maintain an RFC machine so you get stable output, low rejection, and consistent seal quality.
This is general operational guidance; follow your machine manufacturer's manual and your plant's safety SOP for model-specific procedures.
What “RFC” means in bottled water
RFC stands for Rinsing, Filling, and Capping. These three stations are mechanically synchronized, so bottle handling stays controlled and you reduce manual touchpoints.
- Rinsing: Removes dust/foreign particles inside the empty bottle using treated rinse water (and/or air, depending on configuration).
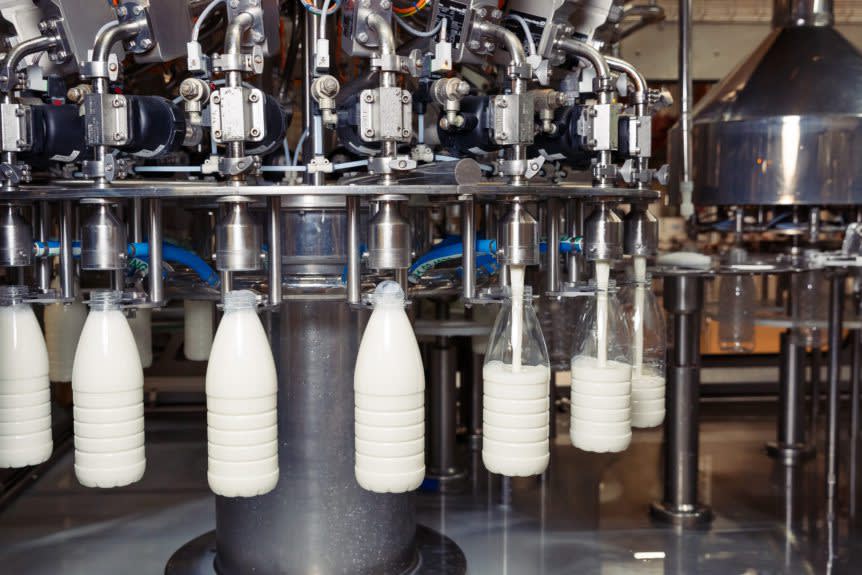
- Filling: Dispenses water to a consistent level/volume with minimal spillage and foaming.
- Capping: Feeds caps, places them accurately, and tightens with controlled torque to prevent leaks or cap damage.
Before installation: Prepare the bottling line
Most commissioning delays happen because the surrounding line isn’t ready. Before the machine arrives (or before final placement), confirm these basics.
1) Layout and material flow
- Keep a straight, obstruction-free path from bottle storage to infeed to labeling/packing.
- Ensure enough operator space for cap loading, inspection, and changeovers.
- Provide easy access to electrical panel, pumps, filters, and drainage points for cleaning.
2) Utilities checklist (must-have)
- Electrical: Stable supply as per machine requirement, proper earthing, and dedicated MCB/isolator.
- Water: Treated water supply for filling, and appropriate rinse water supply (as per your hygiene SOP).
- Compressed air: Dry, filtered air if your machine/line uses pneumatics (cap chute sensors, actuators, air conveyor, etc.).
- Drainage: Floor slope and drain points to handle rinse discharge and cleaning water.
3) Hygiene zone planning
- Keep the filling area as a “clean zone” with controlled entry.
- Use easy-to-clean surfaces and avoid open storage of caps and preforms near the filler.
- Plan for routine sanitization, CIP (if applicable), and safe chemical handling.
How to set up the RFC machine (step-by-step)
Use this sequence during installation or whenever you relocate the machine.
Step 1: Leveling and alignment
- Place the machine on a solid, vibration-free foundation.
- Level the frame to avoid uneven rotation, abnormal wear, and inconsistent filling levels.
- Align conveyors and star wheels (or transfer points) so bottles transfer smoothly without scuffing or tipping.
Step 2: Connect product and rinse lines safely
- Connect filling water line from treated water tank/loop using hygienic piping practices.
- Connect rinsing line and verify rinse pressure/flow is stable.
- Check all clamps, gaskets, and seals for leaks before running bottles.
Step 3: Configure cap feeding
- Load caps into the hopper/elevator carefully to avoid dust contamination.
- Ensure the chute delivers caps smoothly to the capping head without jams.
- Confirm cap orientation and that caps are not cracked/deformed (a common cause of leakage).
Step 4: Dry run + wet run validation
- Dry run: Run the machine without water to verify smooth rotation, bottle transfer timing, and safety interlocks.
- Wet run: Start water flow and verify rinse coverage, fill level stability, and cap tightening consistency.
- Set speed only after stable transfers and correct capping torque are confirmed.
Daily operating SOP (for stable output)
Once the machine is commissioned, consistent results come from simple discipline: clean start-up, stable inputs, and regular checks during production.
Start-up SOP
- Sanitize contact parts as per your internal quality plan.
- Confirm treated water quality at the filler inlet (your QC parameters).
- Verify cap availability and cleanliness; avoid refilling caps with wet hands/gloves.
- Run 10–20 bottles for observation and adjust only if needed.
In-process checks (every 30–60 minutes)
- Fill level: Look for drift (often caused by pressure changes or worn seals).
- Cap seal: Randomly check for leakage by inversion and visual inspection.
- Bottle handling: Watch for scuffing, neck damage, and star-wheel scratches.
- Rejection reasons: Track why bottles are rejected (underfill, cap skew, cap crack, bottle jam).
Shutdown SOP
- Stop feeding bottles first, then stop filling water flow, then stop the machine (sequence matters to avoid spillage).
- Drain and clean as per sanitation SOP; prevent standing water in bowls/lines.
- Cover cap area and sensitive points to avoid overnight dust contamination.
Preventive maintenance checklist (simple and practical)
Maintenance is where most plants either protect output—or lose it. The goal is to prevent contamination risk, filling inconsistency, and sudden downtime.
Daily (10–20 minutes)
- Clean external surfaces, conveyors, and splash zones.
- Inspect for leaks at joints, valves, and gaskets.
- Check cap chute for dust, broken caps, or jamming points.
Weekly
- Inspect wear parts (seals, O-rings, grippers) and replace if swelling/cracking appears.
- Check alignment of bottle transfer points; tighten loose fasteners.
- Verify sensor cleanliness (dusty sensors create false “no bottle” or cap feed errors).
Monthly
- Review capping torque settings and cap rejection trends.
- Inspect bearings/cams as per manufacturer plan and lubricate where specified.
- Audit sanitation effectiveness: swab points, rinse coverage, and operator compliance.
Common problems and how to fix them quickly
Problem: Underfill or overfill
- Stabilize inlet water pressure and ensure the tank level control is working.
- Check worn seals/valves and clean any scale or particles affecting valve seating.
- Reduce speed temporarily to confirm whether the issue is mechanical timing or supply instability.
Problem: Cap leakage
- Check cap quality and storage (caps absorb dust and can deform if stored poorly).
- Re-check torque setting; too tight can crack caps, too loose causes leaks.
- Verify cap chute feeding: skewed caps often create crooked application.
Problem: Bottle jams at infeed/outfeed
- Re-align conveyors and transfer stars; even small misalignment causes frequent jams.
- Check bottle quality (neck ovality, thin bottles) and reduce speed if required.
- Confirm air conveyor/guide rails (if used) are adjusted for your bottle neck finish.
How to choose the right RFC machine for your plant (India-focused)
If you’re evaluating an Automatic Water Bottle RFC Filling Machine, selection should be driven by your bottle range, target BPH/BPM, hygiene requirements, and how easy the machine is to maintain locally.
- Define bottle range: 200 ml, 500 ml, 1 L, 2 L—confirm changeover approach and required change parts.
- Plan real throughput: Choose capacity based on packing speed, manpower, and your sales plan (not just peak demand).
- Hygienic design: Prioritize easy cleaning, minimal dead zones, and stainless contact parts for long-term quality.
- Automation and safety: Look for interlocks like “no bottle-no fill” and stable cap feeding to reduce wastage.
- Service readiness: Ensure spares availability, training support, and clear maintenance schedules.
To compare models side by side, browse the water-filling machine range and shortlist the configuration that matches your bottle sizes and target output.
Need help sizing the machine?
Share your bottle sizes (ml), target output (BPH/BPM), and whether you want integration with labeling, shrink wrapping, and end-of-line packing. Based on that, the right RFC configuration and line layout can be planned to match your plant’s budget, space, and growth goals.